

Learn how to use Quick Settings Developer Tiles in Android for out-of-the-box access to debug tools, wireless debugging, GPU rendering, layout bounds, and more. We also walk you through enabling Developer Options and see how to speed up your app testing in this full guide.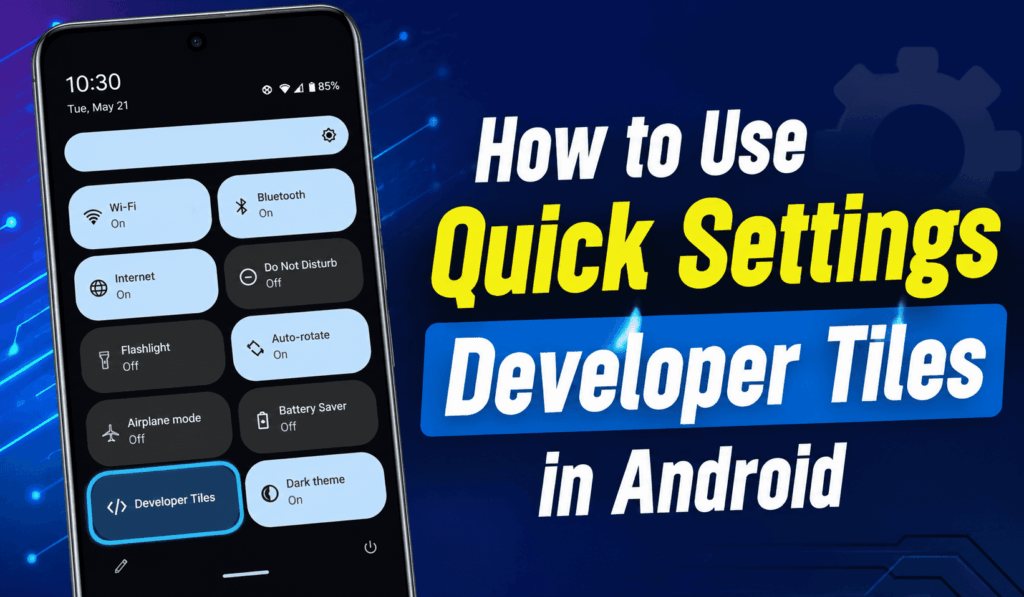

How to Use Quick Settings Developer Tiles in Android
Quick Settings Developer Tiles in Android is a great feature for developers, testers, and advanced Android users. These tiles give you instant access to the debug tools, which you will find right in the Quick Settings panel, which in turn makes it easy to test apps, see how the system is performing, and get through your dev tasks faster.
Read More: How to Enable Show CPU Usage in Developer Options
What are Quick Settings Developer Tiles in Android?
Developer options in Android, which include what we call Quick Settings Developer Tiles, are enabled after you turn on Developer Options. These tiles appear in the Quick Settings panel, and they provide a way for users to turn developer-related features on or off at the press of a button instead of going through many settings menus.
Read More: How to Make Android Faster with Developer Options Without Root
Steps to Enable Quick Settings Developer Tiles in Android
Before you use Quick Settings Developer Tiles in Android, you must first enable Developer Options.
- Go to Settings on your Android device
- Go to About Phone.
- Tap on Build Number seven times until Developer Options appear.
- Go back to Settings and open Developer Options.
- Scroll to the Quick Settings Developer Tiles Section.
- Enable the tiles you like.
- Open up Quick Settings and add in any that may be disabled.
Once you enable it, Quick Settings Developer Tiles become available at any time.
Read More: How to Limit Background Processes on Android
Common Quick Settings Developer Tiles in Android
In Android, which has your specific version, the Quick Settings Developer Tiles include a few that are included.
- Show Layout Bounds is a feature that displays UI boundaries.
- Profile GPU Rendering monitors graphics performance.
- Show Taps presents screen touch input.
- Pointer Location tracks touch coordinates.
- Wireless debugging which removes the need for a USB cable.
- Color Space simulation is used to test app accessibility and display behavior.
These Developer Tiles in Android, which we have made available, are for when you, as a developer, are testing applications in various scenarios.
Benefits of Quick Settings Developer Tiles in Android
In Android with Quick Settings Developer Tiles, we see that there are several benefits. They also report which allows for faster use of debug tools, reduced time in navigation, better testing performance, and simpler performance analysis. Developers note that it is easy to switch between various test modes as they work on app behavior.
Tips for Using Quick Settings Developer Tiles in Android
To improve your experience with Quick Settings Developer Tiles in Android, disable those you don’t use frequently. We recommend keeping the Quick Settings panel organized, which in turn makes it easy to access the tools you need at a moment’s notice. If you are testing app performance, try the GPU rendering tools in combination with the layout inspection tiles for in-depth analysis.
Conclusion
In Android, Quick Settings Developer Tiles are a key productivity feature for developers and advanced users. They present access to debugging, performance testing, and interface inspection tools within the Quick Settings panel. By enabling and using Quick Settings Developer Tiles in Android, you can improve your development flow, save time, and, at large, better your Android testing experience.