Learn how to enable Auto Switch to Mobile Data on Android, which will keep you connected when Wi-Fi is weak or out of range. We walk you through the steps. We also look at what you can expect, and you’ll get that seamless internet experience.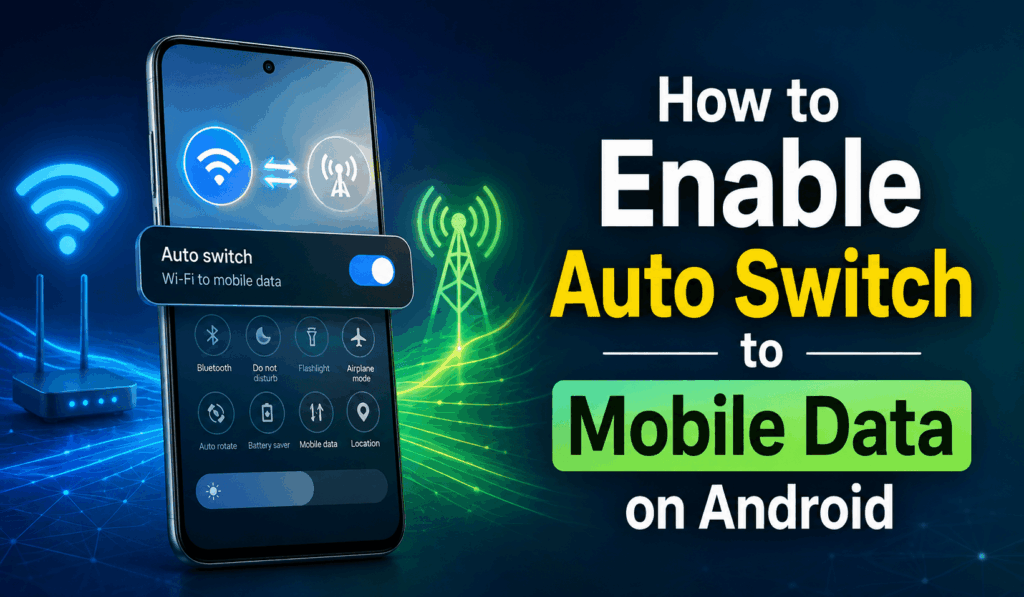
How to Enable Auto Switch to Mobile Data on Android
A solid internet connection is a requirement for browsing, streaming, online gaming, and video calls. Also, we must note that Wi-Fi networks are not always stable. As your Wi-Fi signal weakens or drops off, your phone may lose internet access, which in turn will drop you off what you are doing unless its ability to switch to mobile data kicks in. Also, it is great to report that many Android devices come with a feature called Auto Switch to Mobile Data, which, as its name suggests, keeps the internet connection smooth.
Read More: How to Change Mobile Data Settings on Android
What is Auto Switch to Mobile Data on Android?
Auto Switch to Mobile Data on Android is a smart feature that changes your device from Wi-Fi to mobile data when the current Wi-Fi network is weak or unstable. Your phone will identify the issue instead of you having to go in and turn off Wi-Fi; it will also switch to mobile data to keep you connected.
Read More: My Mobile Data is on but Not Working (Android)
Steps to Enable Auto Switch to Mobile Data on Android
Here are easy steps to set up Auto Switch to Mobile Data on Android:
- Open Settings on your Android phone.
- Tap on Wi-Fi or Network Internet.
- In Advanced Settings, or Smart Wi-Fi, also in Select Wi-Fi Preferences.
- Go to the Auto Switch to Mobile Data, Switch to Mobile Data, Adaptive Connectivity, or Smart Network Switch option.
- Enable the feature.
After turning on Auto Switch to Mobile Data in Android, your device will jump to mobile data as soon as your Wi-Fi connectivity breaks down or signals drop.
Read More: How to Fix Data Connection Problem in Android Mobile
Benefits of Auto Switch to Mobile Data on Android
There should be a few benefits of using Auto Switch to Mobile Data on Android:
- Maintains uninterrupted internet access.
- Prevents app dropouts when Wi-Fi is unstable.
- Improves performance of video streaming and online gaming.
- Improves video calls and messaging.
- Saves you the time of manually switching networks.
When you are remote or tuning in to your favorite shows, Auto Switch to Mobile Data on Android keeps your connection reliable.
Why You Should Use Auto Switch to Mobile Data on Android
As you go about your day at home, in the office, or out in public, Wi-Fi may drop out in some spots. But with Auto Switch to Mobile Data on Android, your service will jump right back; it also does a great job of knowing what is available, which in turn greatly improves your internet experience.
Things to Keep in Mind
While with Auto Switch to Mobile Data on Android you get convenience, at the same time it uses your mobile data when Wi-Fi is out of the question. If you have a limited mobile data plan, do pay attention to your usage to avoid any surprises. You can check your mobile data use in the Data Usage section of your Android settings.
Conclusion
Enabling Auto Switch to Mobile Data on Android is also a very easy way for you to have a perfect and interruption-free internet experience. While you’re streaming videos, running into online meetings, or just looking around the internet, this function will keep you always active, which means when your Wi-Fi is not performing well, we’ll switch to mobile data instead. If this feature is present in your Android device.
Leave a Reply